


Pedals
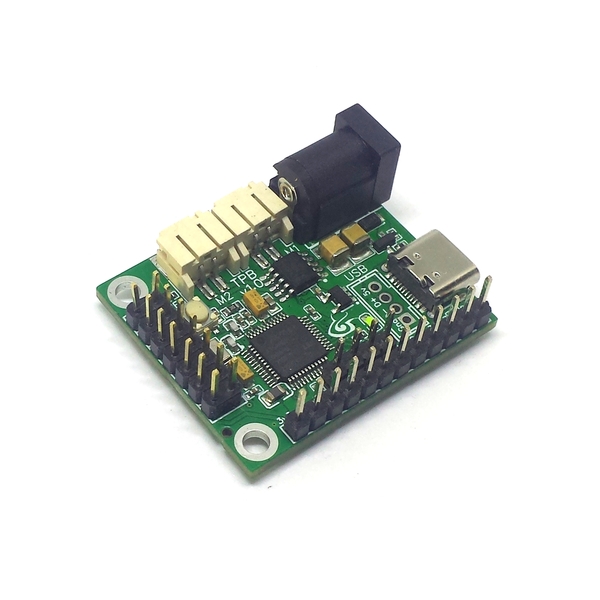
Electroseed Tiny Pedals Board
Availability:
4 in stock
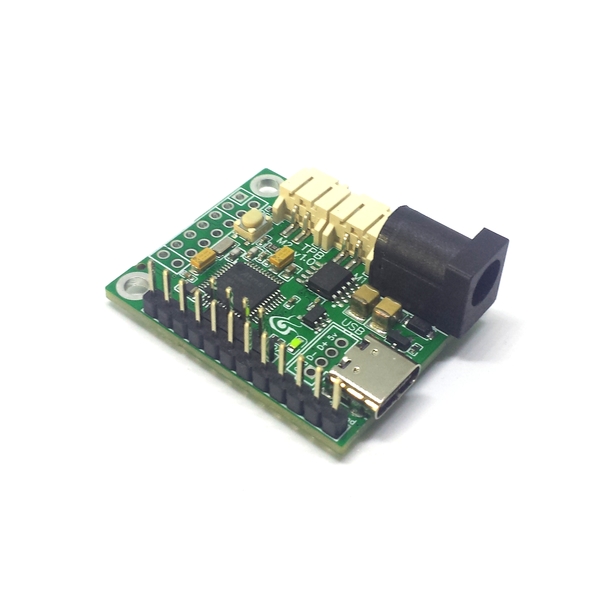
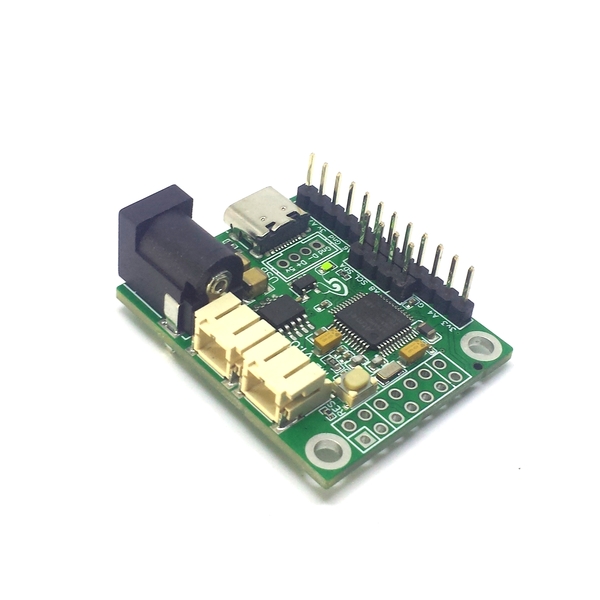
Pedals board with vibration motor control
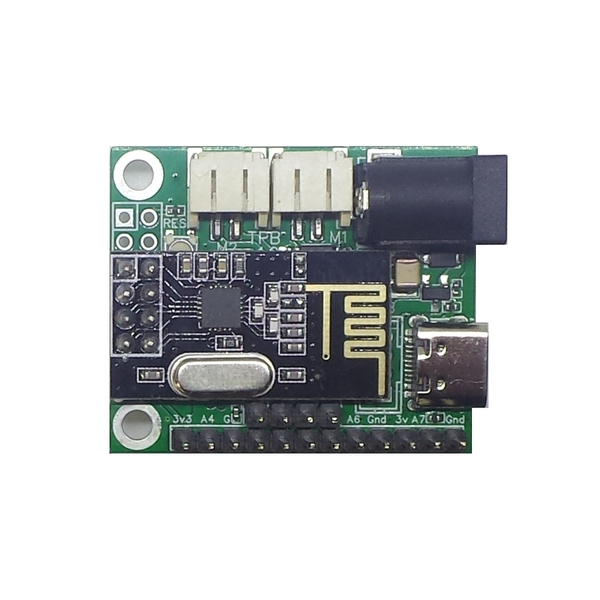
Based on a SamD21 micro-controller, this board can be connected to potentiometers, various sensors and a NRF24L01 radio module. Two I2C ports and an SPI port are accessible, for example to connect 2 AS5600 magnetic angle sensors.
This board also offers a motor control circuit, allowing the control of up to 2 vibration motors to simulate ABS, TC, etc., if the game sends this information, and by interfacing with SimHub software.
21,96 € incl. VAT (18,30 € excl. VAT)
4 in stock
The motors can be powered by USB or by a separate power supply (voltage between 4 and 16 V). The maximum current is 500 mA per motor, for a total power of 1 W max. Motor speeds are controlled by high frequency PWM signals, so commutation signals are inaudible.
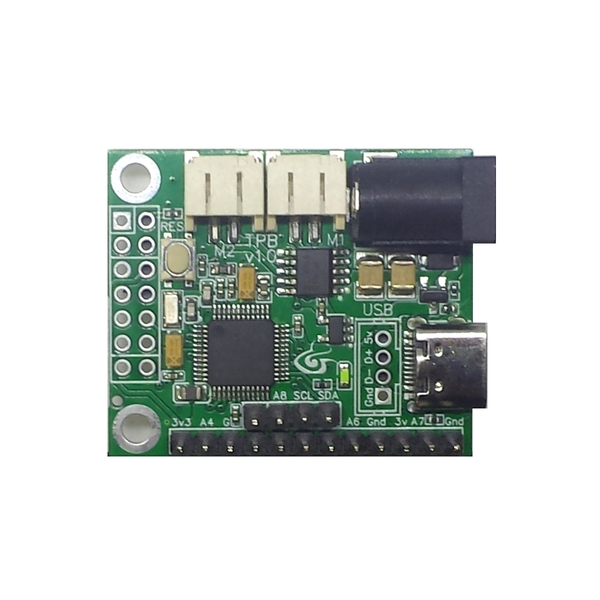
You will have access to 17 I/O including 13 analog inputs (12 bits). The inputs are 3.3 V and are not 5 V tolerant. The SamD21 operates at 48 MHz.
A NodeBlue package is included with the board, so you can have any configuration you need. A configuration form will be sent after your order, so you can specify the desired programming. The board will be programmed accordingly and the wiring schematics will be provided.
| Weight | 0,03 kg |
|---|---|
| Dimensions | 1 × 1 × 1 cm |
Pinout

Downloads
3D models (.obj and .step format) : PCB_Tiny_Pedals_Motor_SamD21.zip
Tutorials
Axis Calibration
Depending on the project you are using, you will have to use one of the following 2 methods:
- Calibration with the serial monitor
You will need to have a “NodeBlue Interface”, “SimHub Interface” or “Nextion Interface” module in your project.
Attention : if the USB port is used for a Nextion, leds or other Simhub interfaces, you’ll need to disconect SimHub in order to free the serial COM port.
In Node Blue, open a serial monitor on the board (at the top of the window, select the correct COM port and click on the # icon), You can see the calibration messages in the serial monitor (window at the bottom in Node Blue). You must also display the “Controllers” tab at the top right. Select “Raw” as display mode.
For each axis:
- Click on the “Cal” input of the analog input module, the sensor module (eg AS5600) or the “Range” module. The module name can be “Accel”, “X”, “Y” or “Z”, or something else depending on the application. Once cal is pressed, a message appears in the serial monitor window. Follow the instructions.
- Once the calibration is complete, double click on the module to change the low and high deadband parameters. Check in the controller tab that when the axis is completely released the value is 0 and when it is fully released the value is 65535. Adjust the dead zones if necessary. Click on “Invert” if you need the axis to work in an inverted way.
Once the calibration of all axis is complete, save the project so that the settings are saved, either by using the “Save project” menu or with the CTRL-S key combination. If the project is read-only, use the “Save As” menu and choose another name.
- Manual Calibration (if the USB Virtual serial port is not present or used by another non compatible module)
In the “Controllers” tab at the top right. Select “Raw signed” as the display mode.
For each axis:
- Double-click on the analog input module “X”, “Y” or “Z” (or any other name depending on the project) concerned by the axis.
- Position the axis to the minimum, copy the value displayed in the controller tab (adding a small margin), in the “In Min” parameter of the module.
- Position the axis to the maximum, copy the value displayed in the controller tab (by removing a small margin), in the “In Max” parameter of the module.
- change the low and high deadband parameters. Check in the controller tab that when the axis is completely released the value is 0 and when it is fully released the value is 65535. Adjust the dead zones if necessary.
Once each axis has been done :
- Save the project so that the settings are saved, either by using the “Save project” menu or with the CTRL-S key combination. If the project is read-only, use the “Save As” menu and choose another name.
- Select the com port among those detected (disconnect any other detected boards to be sure to program the board you want).
- Upload the project to the board (“Upload” button).
The settings are saved in the flash memory of the board and are restored at each restart.